Natural Makeup Look Tutorial: The Complete Guide to Effortless Beauty
Table of Contents
- Introduction: The Art of Looking Naturally Beautiful
- Understanding the Natural Makeup Philosophy
- Essential Products for Natural Makeup
- Skin Preparation: The Foundation of Natural Beauty
- Perfecting Your Base: Foundation and Concealer
- Subtle Definition: Eyes, Brows, and Lashes
- Natural Flush: Blush and Lip Color
- Setting and Finishing Touches
- Common Mistakes and How to Avoid Them
- Conclusion: Your Natural Beauty Enhanced
- FAQ
Introduction: The Art of Looking Naturally Beautiful
There’s a paradox at the heart of natural makeup: achieving the appearance of wearing no makeup whatsoever actually requires considerable skill, the right products, and strategic application techniques. The goal isn’t to look completely bare-faced—it’s to look like the best, most radiant version of yourself, as if you were born with perfectly even skin, subtly defined features, and that elusive “glow from within” that speaks of health, youth, and vitality.
The natural makeup look has dominated beauty trends for years, embraced by celebrities, makeup artists, and everyday women who’ve discovered that “less is more” isn’t just a cliché—it’s a transformative approach to beauty that enhances rather than masks, that works with your features rather than fighting them, and that creates confidence through authentic self-expression rather than heavy coverage and dramatic transformation.
This aesthetic shift represents more than fashion—it reflects changing cultural values around beauty, authenticity, and self-acceptance. Social media’s “Instagram face” era of heavy contouring, dramatic brows, and full-coverage everything has given way to a more refined sensibility: women want to look like themselves, just better. They want makeup that enhances natural beauty rather than creating an entirely different face. They want to look fresh, awake, healthy, and effortlessly put-together rather than obviously made-up.
The irony, of course, is that achieving this “effortless” look requires considerable effort—not in terms of time (natural makeup is actually faster than full-glam once you master techniques), but in terms of understanding your face, selecting products that work with your skin rather than sitting on top of it, and developing application skills that create seamless, skin-like finishes.
The natural makeup look serves multiple purposes and life situations: the professional woman wanting to look polished yet approachable for work, the student seeking quick everyday beauty that doesn’t feel heavy or excessive, the bride desiring timeless wedding photos that won’t look dated in 20 years, the mature woman embracing her age while enhancing her best features, and anyone simply wanting to feel beautiful in their own skin without the armor of heavy makeup.
This comprehensive tutorial goes far beyond basic “apply foundation, add mascara, done” instructions. We’ll explore the philosophy behind natural makeup and why it differs fundamentally from full-glam approaches, identify the essential products that create skin-like finishes versus those that look obviously makeup-y, master skin preparation techniques that create the perfect canvas (because natural makeup requires excellent skin as its foundation), perfect foundation and concealer application achieving flawless coverage that doesn’t look like coverage, learn strategic techniques for defining eyes, brows, and lashes without looking made-up, discover how to add natural flush and color that mimics your skin’s natural undertones, and troubleshoot common mistakes that make “natural” makeup look anything but natural.
Whether you’re a complete makeup beginner seeking an approachable entry point into beauty, an experienced makeup enthusiast wanting to refine your everyday look, someone transitioning from heavy makeup to more natural aesthetics, or simply curious about achieving that coveted “no-makeup makeup” look—this guide provides the comprehensive knowledge and step-by-step techniques you need.
Natural makeup isn’t about hiding or minimizing yourself—it’s about revealing and celebrating the beautiful person you already are, just with a little strategic enhancement. Let’s discover how to make your natural beauty shine.

1. Understanding the Natural Makeup Philosophy
What Natural Makeup Is (and Isn’t)
Natural makeup is not the absence of makeup. It’s strategic, skillful application of specific products in specific ways that enhance your natural features while maintaining a fresh, skin-like appearance. The goal is for people to think “she looks beautiful” rather than “her makeup looks beautiful”—the focus remains on you, not your makeup.
Natural makeup is:
- Skin that looks like skin, not a mask
- Features that are enhanced but recognizable
- Colors that complement your natural coloring
- Finishes that are luminous and dimensional rather than flat and matte
- Makeup that photographs beautifully without looking heavy
- Application that feels lightweight and comfortable
- A look appropriate for any setting from office to dinner
Natural makeup is not:
- Completely bare face (though you can certainly go makeup-free if you prefer!)
- Poor-quality makeup that breaks down quickly
- Skipping steps that matter (like concealer for dark circles)
- Only suitable for young skin (it works beautifully at any age)
- Boring or plain (when done well, it’s polished and beautiful)
The Skin-First Approach
Natural makeup prioritizes skincare and skin health as the foundation for beauty. Unlike full-coverage makeup that can hide skin imperfections under heavy layers, natural makeup works best when your skin itself is in good condition. This means:
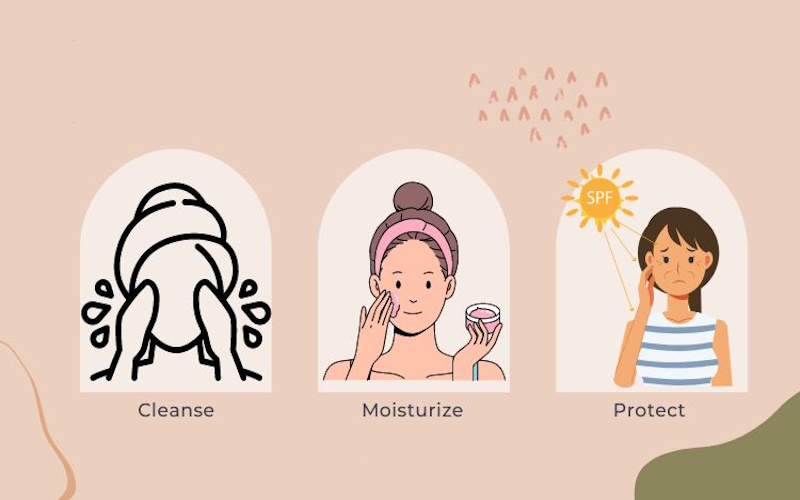
Consistent skincare matters: Cleansing, moisturizing, sun protection, and targeted treatments for your specific concerns (acne, dryness, aging) create the smooth, healthy canvas that makes natural makeup look its best.
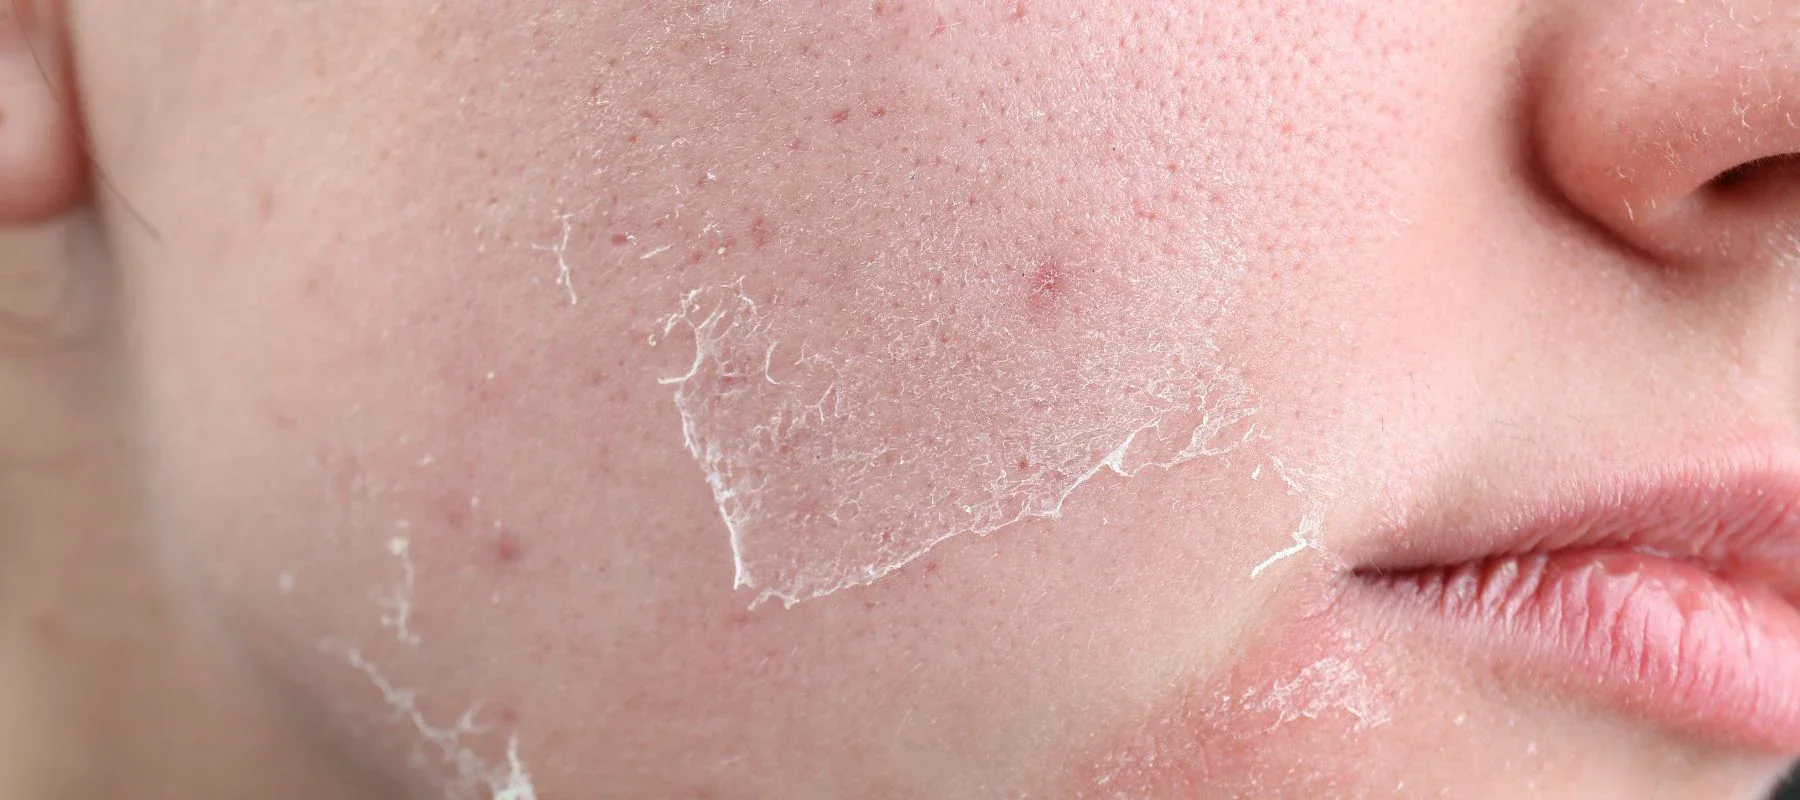
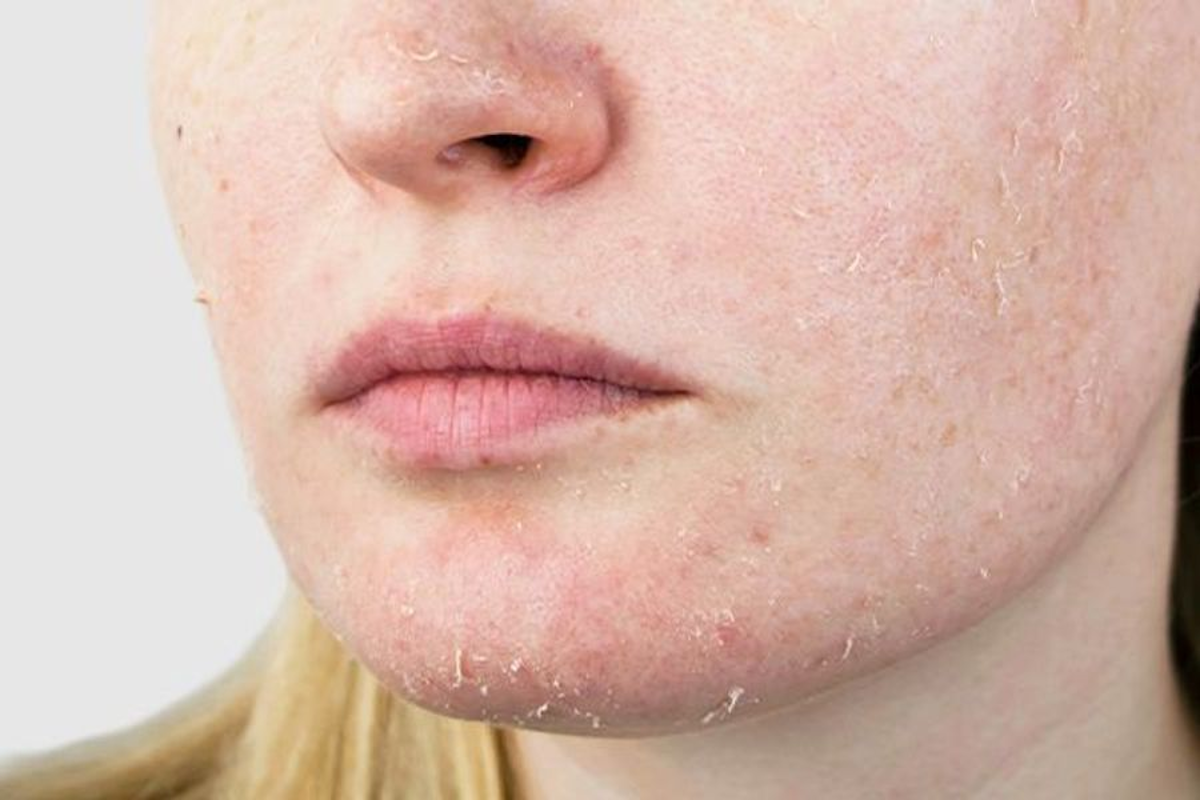
Texture is crucial: Natural makeup emphasizes skin texture—meaning if your skin is rough, flaky, or bumpy, it will show through sheer-to-medium coverage products. Regular exfoliation (chemical or physical, depending on your skin type), hydrating masks, and consistent moisturizing create the smooth texture that makes makeup glide on seamlessly.
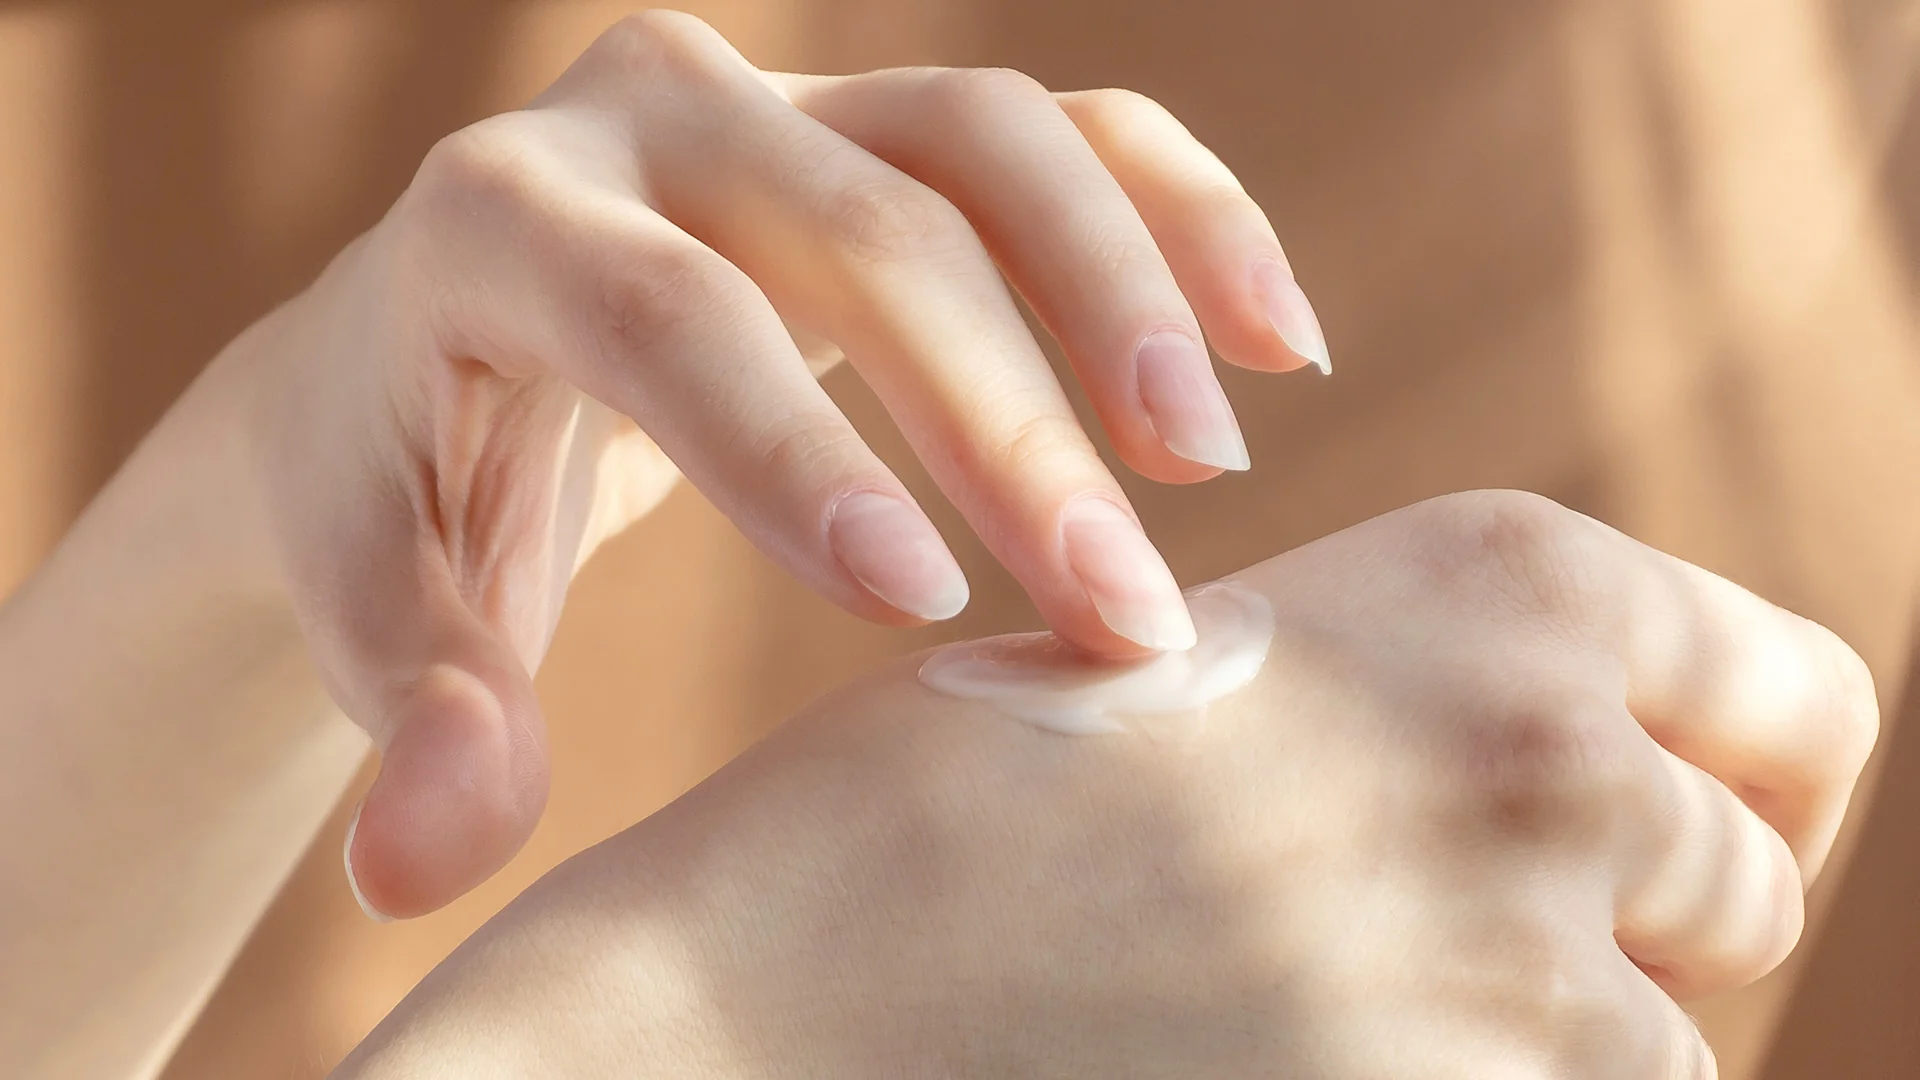
Hydration shows: Dewy, glowing skin is the hallmark of natural makeup. This glow comes partly from makeup (luminous products, strategic highlighting) but mostly from genuinely hydrated skin. If your skin is dehydrated, no amount of glowy makeup will create authentic radiance—you’ll just look oily or shimmery rather than genuinely glowing.
This doesn’t mean you need perfect skin to wear natural makeup—far from it. Concealer, color correctors, and strategic coverage handle blemishes, dark circles, and discoloration. However, the overall skin condition matters more for natural makeup than for full-coverage looks where heavy foundation can hide everything.
Choosing Your Natural Makeup Intensity
“Natural” exists on a spectrum—from truly minimal “tinted moisturizer and mascara” to more polished “my skin but better with subtle definition.” Consider your needs:
Minimal natural (5 minutes):
- Tinted moisturizer or BB cream
- Concealer for dark circles and blemishes
- Brow gel
- Mascara
- Tinted lip balm
Polished natural (15 minutes):
- Full skincare and primer
- Light-to-medium foundation
- Concealer and color correcting
- Subtle contour and blush
- Defined but natural brows
- Neutral eyeshadow and mascara
- Natural lip color
Enhanced natural (25 minutes):
- Complete skincare and targeted primers
- Strategic foundation application
- Color correction and concealing
- Soft contouring and highlighting
- Blush and bronze
- Defined brows with subtle shaping
- Neutral eyeshadow with definition
- Mascara and possibly tightlining
- Natural lip color with subtle liner
All three are “natural” makeup—they enhance rather than transform, maintain skin-like finishes, and look authentically you. Choose based on your time, skill level, and desired polish.
Shop on AliExpress via link: wholesale-natural-makeup-products

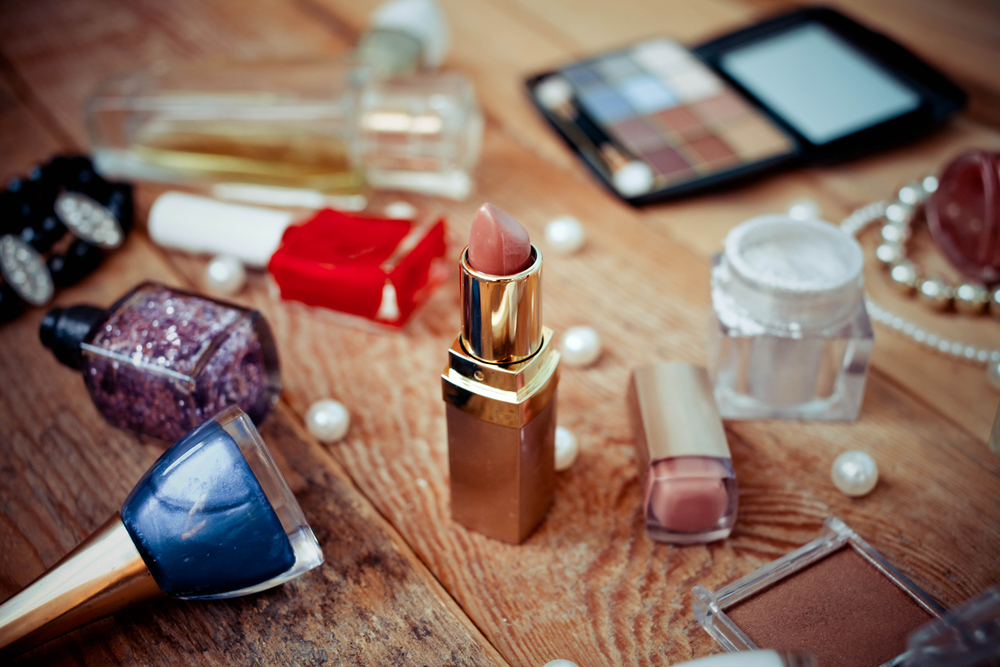
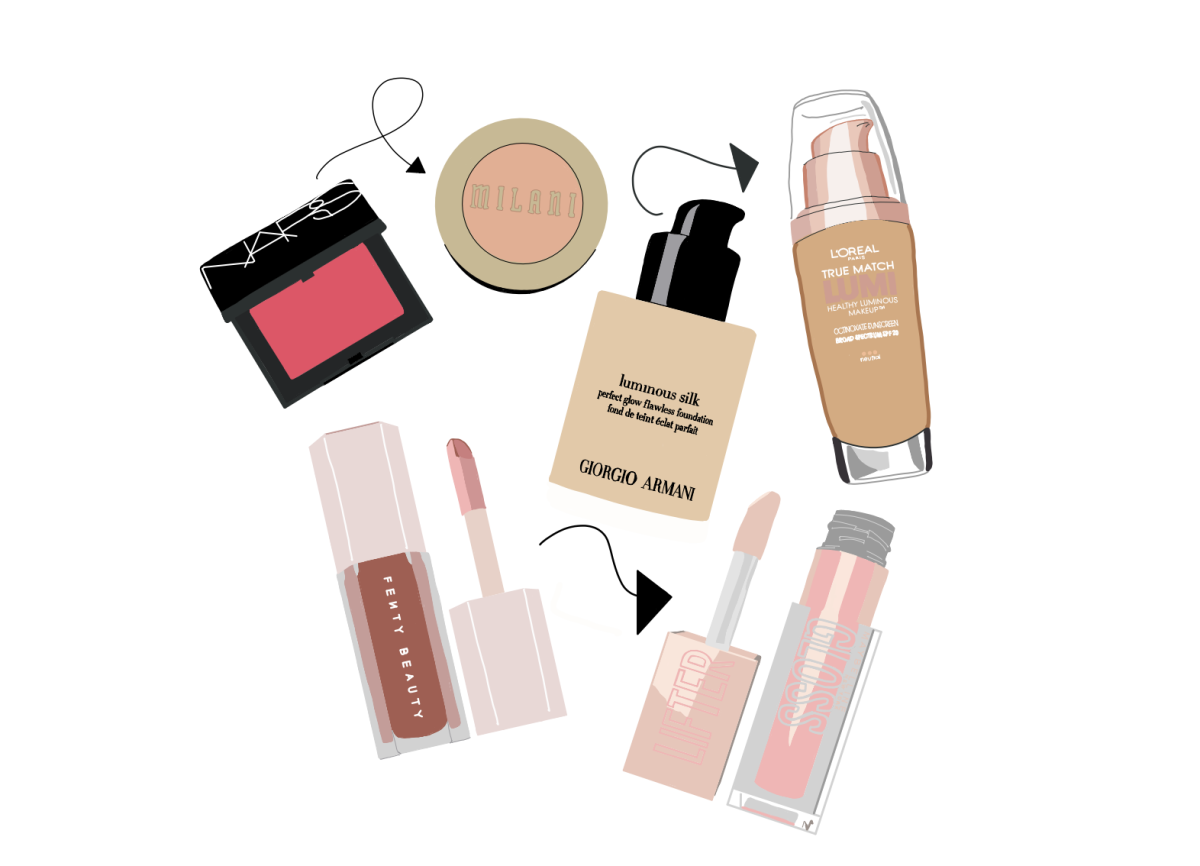
2. Essential Products for Natural Makeup
Foundation and Base Products
Tinted Moisturizers and BB Creams: These lightweight hybrids combine skincare benefits (hydration, SPF) with sheer coverage. Perfect for minimal natural looks or excellent skin with minor imperfections. Look for formulas matching your skin type (mattifying for oily skin, hydrating for dry skin). Application: Fingers or damp beauty sponge for seamless blending.
Light-to-Medium Coverage Foundations: These provide more coverage than tinted moisturizers while maintaining natural finish. Seek formulas described as “skin-like,” “luminous,” “radiant,” or “natural finish”—avoid “full coverage” or “matte” foundations for natural makeup. Formulas with skincare ingredients (hyaluronic acid, vitamins, peptides) enhance the skin-first philosophy.
Key foundation characteristics for natural makeup:
- Buildable coverage (apply lightly where skin is good, layer where needed)
- Luminous or satin finish (not flat matte)
- Lightweight texture that doesn’t feel heavy
- Shade matching is crucial (test in natural light, match to neck/chest)
- Formulas that wear naturally (don’t oxidize, separate, or cake)
Recommended foundation types:
- Serum foundations: Lightweight liquid formulas with skincare benefits
- Water-based foundations: Refreshing, natural finish, ideal for normal-to-oily skin
- Tinted face oils: Ultra-natural finish for dry skin, very sheer coverage
- Cushion foundations: Korean beauty innovation, dewy natural finish with buildable coverage
Concealers: Strategic Coverage
Natural makeup uses concealer strategically rather than all over—only where needed. You’ll want two concealer shades/types:
Brightening concealer: One shade lighter than your skin tone, for under-eye brightening. Look for creamy, luminous formulas that don’t settle into fine lines. Avoid thick, heavy concealers under eyes—they crease and look obvious. Peachy or pink-toned concealers neutralize blue/purple dark circles beautifully.
Spot concealing: Exactly matching your skin tone or foundation shade, for covering blemishes, redness, and discoloration. These can be slightly thicker and more pigmented since they’re covering specific issues, but still should blend seamlessly into surrounding skin.
Color correctors (optional but useful):
- Green: Neutralizes redness (rosacea, acne, general redness)
- Peach/Orange: Neutralizes blue/purple dark circles (especially on deeper skin tones)
- Pink: Neutralizes blue/green undertones, brightens sallow skin
- Lavender: Neutralizes yellow undertones, brightens dull skin
Brow Products: Natural Definition
Brow pencils: Precise application mimicking individual hairs. Choose pencils one shade lighter than your natural brow color (darker looks harsh and obvious). Apply with light, feathery strokes rather than hard lines.
Brow powders: Soft, diffused color ideal for filling sparse areas. Applied with angled brush, powder creates the most natural effect. Can be used alone or over pencil for softness.
Brow gels: Clear gel tames and sets brows; tinted gel adds subtle color and definition while setting. For natural makeup, tinted gels often suffice alone without pencil or powder—just brush through brows creating subtle definition.
Eye Products: Subtle Enhancement
Neutral eyeshadow palette: Matte and satin finishes in shades close to your skin tone. Essential shades: light cream/beige (highlight), medium taupe/brown (definition), slightly darker brown (depth). These create dimension without looking obviously made up.
Mascara: Defines and lengthens lashes without clumping or looking spidery. Black mascara suits most people; brown mascara looks softer and more natural on fair skin or for ultra-subtle looks. Choose lengthening formulas over volumizing (which can look too dramatic).
Eyeliner (optional): For natural looks, skip harsh black liner. Instead:
- Brown or taupe pencil: Softer definition close to lash line
- Tightlining: Liner applied to upper waterline (between lashes) rather than on lid—defines eyes without visible liner
- Smudged liner: Pencil liner gently smudged with brush for soft definition
Cheek Products: Natural Flush
Cream blush: Blends seamlessly into skin creating the most natural flush. Applied with fingers or stippling brush, cream blush mimics natural blood flow in cheeks. Choose shades similar to your natural flush—peachy-pink for fair skin, rosy-mauve for medium skin, berry-plum for deep skin.
Powder blush: Easier to control intensity and build coverage. Applied with fluffy brush, powder blush works beautifully for normal-to-oily skin. Stick with matte or subtle satin finishes—avoid obvious shimmer or glitter.
Bronzer: Adds warmth and subtle definition. For natural makeup, use matte bronzer (no shimmer) in shade 1-2 tones deeper than your skin. Apply lightly to areas where sun naturally hits—temples, cheekbones, bridge of nose.
Lip Products: Natural Color
Tinted lip balm: Combines hydration with sheer color. Perfect for minimal natural looks—just swipe on for comfortable, low-maintenance lip color.
Satin lipstick: More pigmented than balm but still comfortable. Choose “my lips but better” shades—colors that enhance your natural lip tone rather than dramatically changing it. Mauve-pink, nude-pink, soft coral, and rosy-brown shades suit most people.
Lip stains: Long-lasting color without heavy texture. Stains sink into lips rather than sitting on top, creating natural-looking color that lasts through eating and drinking.
Tools and Brushes
Damp beauty sponge: Essential for blending foundation and concealer seamlessly. Damp sponge (squeeze out excess water) bounces product into skin creating airbrushed finish. Replace every 2-3 months as sponges harbor bacteria.
Fluffy powder brush: For setting powder and blush application. Soft, dense bristles distribute product evenly.
Angled brush: For brows (applying powder product) and eyeliner (creating soft definition).
Blending brush: Small fluffy brush for eyeshadow blending, creating soft transitions between shades.
Spoolie: Brush for blending brow products and brushing brows into place.
Shop on AliExpress via link: wholesale-makeup-brushes-set
3. Skin Preparation: The Foundation of Natural Beauty
The 15-Minute Pre-Makeup Skincare Routine
Proper skin preparation makes the difference between makeup that looks natural and makeup that looks cakey or settles into lines. Allow 15 minutes between skincare and makeup application—products need time to absorb.
Step 1: Cleanse (1 minute) Start with clean skin even if you cleansed the night before. Morning cleansing removes overnight oil buildup, dead skin cells, and skincare product residue that can interfere with makeup application. Use gentle cleanser appropriate for your skin type—foaming for oily skin, cream or oil-based for dry skin, gentle gel for sensitive skin.
Step 2: Tone (30 seconds, optional) Toners balance skin pH and provide additional hydration or treatment. Hydrating toners (with hyaluronic acid, glycerin) plump skin. Exfoliating toners (with AHAs, BHAs) smooth texture. Treatment toners (with niacinamide, vitamin C) address specific concerns. Pat toner into skin with hands or swipe with cotton pad.
Step 3: Serum (1 minute) Serums deliver concentrated active ingredients addressing specific concerns. For natural makeup prep:
- Hydrating serums (hyaluronic acid): Plump skin, create smooth canvas
- Vitamin C serums: Brighten, even tone, provide antioxidant protection
- Niacinamide serums: Minimize pores, control oil, reduce redness
Apply 2-3 drops, press into skin with fingertips. Allow 2-3 minutes to absorb before next step.
Step 4: Eye Cream (30 seconds) The under-eye area requires specific care—skin is thinner and more delicate. Eye cream hydrates, reduces puffiness, and creates smooth surface for concealer. Gently pat (never rub) around orbital bone using ring finger (weakest finger, least pressure). Allow 3-5 minutes to fully absorb—crucial for preventing concealer from sliding or creasing.
Step 5: Moisturizer (1 minute) Moisturizer hydrates, creates barrier, and provides smooth base for makeup. Choose formula appropriate for your skin type:
- Oily skin: Lightweight, oil-free gel moisturizer
- Dry skin: Rich, nourishing cream
- Combination skin: Gel-cream hybrid
- Sensitive skin: Fragrance-free, minimal ingredients
Apply with gentle upward motions, massaging into skin. Allow 5-10 minutes to absorb before applying makeup—this timing is crucial. Makeup applied over wet/tacky moisturizer will pill, separate, and look uneven.
Step 6: SPF (1 minute) Non-negotiable daily step protecting against UV damage, premature aging, and skin cancer. For natural makeup, choose:
- Chemical sunscreens: Absorb UV rays, no white cast, elegant texture
- Mineral sunscreens (tinted): Physical UV blockers, tinted versions prevent white cast
- Moisturizer with SPF: Combination products (ensure SPF 30+ for adequate protection)
Apply adequate amount (1/4 teaspoon for face) and allow 10-15 minutes to dry before makeup. This waiting period is essential—makeup applied over wet sunscreen will slide off.
Step 7: Primer (30 seconds, optional) Primers create smooth surface, extend makeup wear, and address specific skin concerns. For natural makeup:
- Hydrating primers: Add glow, prevent dryness (for dry skin)
- Pore-minimizing primers: Smooth texture, blur pores (for oily/textured skin)
- Color-correcting primers: Neutralize redness, sallowness, or dullness
- Illuminating primers: Add subtle glow beneath foundation
Apply thin layer, focusing on areas needing most help (T-zone for pore-minimizing, cheeks for color-correcting). Too much primer makes makeup slide off—less is more.
Quick Skin Fixes for Common Issues
Dry, flaky skin: Exfoliate with gentle chemical exfoliant (lactic acid, PHA) the night before. Morning of, apply hydrating sheet mask for 15 minutes before skincare. Use facial oil mixed with moisturizer for extra hydration.
Oily, shiny skin: Use mattifying primer only in T-zone (forehead, nose, chin) where oil concentrates. Avoid over-using setting powder—it can paradoxically cause more oil production. Blotting papers throughout day maintain matte finish without disrupting makeup.
Redness or irritation: Apply green color-correcting primer after moisturizer. Use anti-inflammatory skincare (niacinamide, azelaic acid, centella asiatica) regularly to reduce chronic redness.
Dull, tired-looking skin: Exfoliate regularly (2-3x weekly) removing dead skin cells revealing fresh skin beneath. Use vitamin C serum mornings for brightening. Apply illuminating primer before foundation adding radiance.
Visible pores: Regular use of BHA (salicylic acid) at night keeps pores clear and minimized. Pore-filling primer before makeup creates smooth surface.

4. Perfecting Your Base: Foundation and Concealer
Foundation Application: The Skin-Like Technique
Step 1: Choose Your Application Method
Fingers: Warmth from fingers makes foundation blend seamlessly. Best for dry skin and dewy finishes. Dot foundation on forehead, cheeks, nose, chin; blend outward with gentle patting and smoothing motions.
Damp Beauty Sponge: Creates the most natural, airbrushed finish. Dampen sponge with water, squeeze out excess until barely damp. Bounce (don’t swipe or drag) foundation into skin with repeated gentle tapping motions. This technique sheers out coverage slightly and creates seamless blending.
Brush: Provides more coverage and precision. Use dense buffing brush or stippling brush. Dot foundation on face, then buff in circular motions or stipple (bouncing motion) for even coverage. Brushes can sometimes emphasize texture—works best for smooth skin.
Step 2: Strategic Application Areas
Natural makeup doesn’t require foundation everywhere—only where you need coverage:
Light coverage areas: Where your skin is good, apply very lightly—forehead, chin, neck. You want skin texture to show through in these areas.
Medium coverage areas: Cheeks, around nose, anywhere with minor imperfections or unevenness. This is where most coverage concentrates.
Blend, blend, blend: The secret to natural-looking foundation is thorough blending with no visible edges. Blend foundation into hairline, down neck, and around nose thoroughly. Step back from mirror checking for visible foundation lines—if you see them, blend more.
Step 3: Building Coverage Gradually
Start with less foundation than you think you need—you can always add more. Apply thin layer, allow to set 1-2 minutes, assess coverage. Add small amounts to areas needing more coverage rather than applying thick layer everywhere.
This gradual building prevents cakey appearance and maintains natural finish. Remember: natural makeup enhances, not covers completely—some skin imperfections showing through is normal and authentic.
Color Correcting: Neutralizing Before Concealing
Color correcting addresses discoloration before concealing, creating more natural final result with less product:
Dark circles: Apply peach (fair-medium skin) or orange (deep skin) color corrector to darkest part of under-eye circles before concealer. The warm tones neutralize blue/purple darkness. Apply with gentle tapping—never rub the delicate under-eye area.
Redness: Dab green color corrector on red areas (blemishes, rosacea, broken capillaries) before foundation or concealer. Blend edges thoroughly—concentrated green in center neutralizing redness, completely blended at edges so no green shows.
Dark spots/hyperpigmentation: Peachy or pink corrector neutralizes dark spots before concealing. This prevents needing heavy concealer that looks obvious.
Sallowness: Light lavender corrector brightens yellowish or dull skin.
Key technique: Color correctors work beneath foundation/concealer, not on top. Apply corrector, blend edges, then apply foundation/concealer over top. The corrector neutralizes discoloration so less coverage product is needed for natural finish.
Concealing: Strategic Coverage
Under-Eye Concealing:
Step 1: Apply brightening concealer (one shade lighter than skin) in inverted triangle under eyes—from inner corner down to top of cheekbone, extending slightly toward temple.
Step 2: Gently pat (never rub) concealer with ring finger or damp beauty sponge, blending seamlessly into surrounding skin. The inverted triangle shape brightens entire under-eye area and lifts the face.
Step 3: Set lightly with translucent powder if prone to creasing. Use fluffy brush applying minimal powder—too much emphasizes fine lines.
Spot Concealing:
Step 1: Use concealer matching your exact skin tone or foundation shade.
Step 2: Apply small amount directly on blemish, redness, or discoloration with precise brush or fingertip.
Step 3: Pat edges to blend into surrounding skin. The center remains opaque (covering the issue); edges are sheered out (creating seamless transition).
Step 4: Set with tiny amount of powder preventing concealer from moving throughout the day.
Key principles:
- Less is more—use minimal product
- Pat, don’t rub—rubbing removes coverage
- Blend edges thoroughly—harsh lines look obvious
- Build coverage gradually—multiple thin layers better than one thick layer
- Set strategically—powder where needed, skip elsewhere for natural finish
Shop on AliExpress via link: wholesale-bb-cream-foundation
5. Subtle Definition: Eyes, Brows, and Lashes
Natural Brows: Enhancing Your Shape
Brows frame the face—well-groomed brows dramatically improve appearance even without other makeup. Natural brows look full, softly defined, and like real hair (not drawn-on blocks).
Step 1: Brush and Assess Use spoolie brushing brows upward and outward. This reveals natural shape and identifies sparse areas needing filling.
Step 2: Fill Sparse Areas Using brow pencil one shade lighter than natural brow color, create light, feathery strokes mimicking individual hairs. Focus on:
- Beginning of brows (often naturally sparse)
- Any gaps within brows
- Tail of brows (if thin or short)
Apply with light hand—heavy pressure creates harsh lines. Multiple light strokes create realistic hair-like appearance.
Step 3: Add Soft Color (Optional) Brow powder over pencil creates soft, natural dimension. Use angled brush applying powder in same sparse areas, blending throughout brows for uniform color.
Step 4: Set in Place Brow gel (clear or tinted) sets hairs in place. Brush through brows with gel, directing hairs upward and outward for lifted, groomed appearance. Tinted gel adds subtle additional color if needed.
Key techniques:
- Start light: You can always add more product
- Blend thoroughly: Use spoolie throughout process blending product for soft effect
- Follow natural shape: Enhance your natural brow shape rather than creating different shape
- Focus on beginnings and tails: These areas are typically sparsest needing most attention
Natural Eye Makeup: Subtle Enhancement
Natural eye makeup enhances eye shape and makes eyes look awake without obvious eyeshadow or liner.
Step 1: Prime Eyelids Eye primer or tiny amount of foundation on lids creates smooth base and prevents creasing. Blend thoroughly—no visible texture or thickness.
Step 2: Neutral Base Shade Apply light neutral shade (cream, beige, soft taupe) all over lid from lash line to brow bone. This creates even canvas and subtly brightens eyes. Use flat brush or fingertip applying and blending.
Step 3: Subtle Definition in Crease Use medium neutral shade (taupe, soft brown) applying to crease (natural fold of eyelid) with fluffy blending brush. Blend in windshield-wiper motions creating soft definition. This adds dimension making eyes look more awake and defined without looking made-up.
Step 4: Subtle Outer Corner Definition (Optional) For slightly more definition, apply darker neutral shade (medium brown) to outer V (outer corner of eye where upper and lower lid meet). Blend thoroughly—goal is soft shadow effect, not harsh line.
Step 5: Inner Corner Highlight (Optional) Tiny amount of light shimmer shade or matte cream shade in inner corners of eyes creates brightening effect making eyes look larger and more awake.
Key principles:
- Blend, blend, blend—harsh lines look unnatural
- Stay in neutral territory—browns, taupes, soft grays
- Build gradually—easier to add than remove
- Focus on depth and dimension, not color
Mascara: The Natural Makeup Essential
Mascara defines lashes making eyes look more open and awake—arguably the most important step in natural makeup.
Step 1: Curl Lashes (Optional) Lash curler before mascara opens eyes dramatically. Position curler at lash base, clamp gently, hold 5 seconds. Move to mid-lash, clamp, hold. The two-step curl creates natural lift rather than harsh crimp.
Step 2: Apply Mascara to Upper Lashes Starting at lash base, wiggle mascara wand back and forth while sweeping upward and outward. This deposits product at roots (creating definition) while coating entire lash length. Apply 1-2 coats maximum—too much looks clumpy and obvious.
Step 3: Apply to Lower Lashes (Optional) For natural looks, lower lash mascara is optional. If applying, use light hand—hold wand vertically, gently brushing through lower lashes. Avoid wiggling motion (creates clumps)—just gentle brush-through.
Step 4: Separate Lashes While mascara is still wet, use clean spoolie or lash comb separating any clumps. Defined, separated lashes look natural; clumpy lashes look obvious and spidery.
Tips:
- Waterproof mascara for long wear and minimal smudging (but harder to remove)
- Regular mascara for easy removal and more natural finish
- Brown mascara for softer, more natural effect (especially on fair skin)
- Avoid shimmer or glitter mascaras for natural looks
- Replace mascara every 3 months preventing bacterial growth and clumping
Tightlining: The Secret Weapon (Optional)
Tightlining—applying liner to the upper waterline (the space between lashes rather than above lashes)—defines eyes without visible liner. This advanced technique creates illusion of fuller lashes and more defined eyes while maintaining natural appearance.
How to tightline:
- Use waterproof gel or pencil liner in dark brown or black
- Gently lift upper lid exposing waterline
- Carefully dot liner into spaces between lashes along waterline
- Repeat across entire lash line
- Blink several times distributing liner
This technique requires practice and steady hand but creates subtle definition impossible to achieve otherwise.

6. Natural Flush: Blush and Lip Color
Blush: Mimicking Natural Flush
Blush adds life and health to face—without it, even perfect base makeup can look flat and lifeless. The key is applying color that mimics where you naturally flush.
Step 1: Choose Your Shade Blush should look like your natural flush color. Test by:
- Pinching your cheek lightly—the color that appears is your natural flush
- Checking lips after exercise—similar rosy tone works beautifully
General guidelines:
- Fair skin: Soft pink, peachy-pink, light coral
- Medium skin: Rose, mauve, warm pink
- Deep skin: Plum, berry, brick red
Step 2: Identify Placement Smile slightly. The apples of your cheeks (the round part that pops up) are where blush concentrates. Some blush can extend back toward temples, but strongest color lives on the apples.
Step 3: Apply with Light Hand Cream blush: Dot small amount on apple of cheek. Blend upward and outward with fingers or stippling brush using tapping motions. Cream blush looks most natural—it melds with skin rather than sitting on top.
Powder blush: Use fluffy blush brush. Tap off excess powder (too much looks clownish). Apply to apple of cheek with gentle circular motions, blending upward toward temples. Build color gradually—start with barely-there application, add more if needed.
Step 4: Blend Seamlessly No visible edges—blush should fade gradually into surrounding skin. If you see harsh lines, blend more with clean brush or beauty sponge.
Pro tips:
- Apply less than you think you need—you can always add more
- Blend toward hairline ensuring no obvious cutoff
- Check blush in natural light—it can look different in bathroom vs. natural daylight
- For very fair skin, apply over setting powder (easier to blend and avoid over-application)
Bronzer and Contour: Subtle Warmth and Definition
Natural makeup uses bronzer for warmth and subtle dimension—not dramatic Instagram contouring.
Bronzer Application: Bronzer adds healthy sun-kissed glow. Apply to areas where sun naturally hits:
- Temples
- Cheekbones (starting at ear, sweeping forward)
- Bridge and tip of nose (very lightly)
- Jawline
- Collar bones and shoulders (if wearing sleeveless tops)
Use large fluffy brush with light hand. Build gradually—bronzer should create subtle warmth, not obvious color.
Subtle Contour (Optional): Natural makeup contour is optional—only if you want subtle definition. Use matte bronzer (or dedicated contour powder) 1-2 shades deeper than skin. Apply:
- Hollows of cheeks (from ear toward corner of mouth, blending thoroughly)
- Sides of nose (for slimming effect)
- Hairline and temples (creating subtle shadow)
Blend thoroughly with fluffy brush—contour should create gentle shadow effect, not visible brown stripes.
Key principle: Less is more. Natural makeup emphasizes skin and features, not dramatic sculpting.
Lips: Natural Color
Natural lip color enhances your lips’ natural shade rather than dramatically changing color.
Step 1: Prep Lips Apply lip balm during skincare routine. By the time you reach lips in makeup application, balm has absorbed. Exfoliate dry, flaky lips beforehand (lip scrub or soft toothbrush).
Step 2: Choose Your Product
- Tinted lip balm: Most natural—sheer color with hydration
- Satin lipstick: More color payoff while remaining comfortable
- Lip stain: Long-lasting natural color
- Lip gloss: Adds shine and subtle color
Step 3: Choose Your Shade “My lips but better” shades:
- Fair skin: Nude-pink, soft rose, peachy nude
- Medium skin: Mauve-pink, dusty rose, warm berry
- Deep skin: Berry, plum, brick red
Your natural lip color (when unstained by food/drink) provides the best guide—choose lipstick 1-2 shades more saturated than your natural tone.
Step 4: Apply Naturally For most natural effect, apply with fingertip rather than directly from bullet—this sheers out color slightly and creates soft, diffused edge. Alternatively, apply from bullet to center of lips, then blend outward with fingertip creating gradient effect (fuller center, softer edges).
Optional: Apply tiny amount of gloss to center of lips (just the cupid’s bow and center of lower lip) creating subtle dimension and fuller appearance.
Shop on AliExpress via link: wholesale-cream-blush-natural

7. Setting and Finishing Touches
Setting Powder: Strategic Application
Setting powder locks makeup in place preventing creasing, fading, and oil breakthrough. However, too much powder looks cakey and emphasizes texture—the enemy of natural makeup.
Step 1: Choose Your Powder
- Translucent powder: Universal shade working on all skin tones
- Tinted powder: Matches skin tone, adds subtle coverage
For natural makeup, choose finely-milled powder (feels like silk) rather than heavy, chalky powder.
Step 2: Powder Strategically Natural makeup doesn’t require all-over powder—only areas prone to creasing or oiliness:
- Under eyes: Prevents concealer creasing
- T-zone: Forehead, nose, chin (if oily)
- Over blemish concealer: Locks spot coverage in place
Skip powder on:
- Dry areas: Cheeks (unless very oily), around mouth, anywhere naturally dry
- Areas where you want glow: High points of cheeks, bridge of nose, cupid’s bow
Step 3: Application Method Baking (optional for under-eyes): Apply generous powder under eyes, let sit 5-10 minutes while finishing rest of makeup, then brush away excess with fluffy brush. This locks concealer in place preventing creasing all day. Use only under eyes—baking elsewhere looks too powdery for natural makeup.
Light dusting (for T-zone): Use fluffy powder brush picking up small amount of powder, tapping off excess. Gently dust over areas needing setting with light hand. Multiple thin layers better than one heavy layer if you need more coverage.
Pressing method (for longevity): Press powder into skin with damp beauty sponge rather than dusting with brush. This locks product in place more effectively while using less powder.
Setting Spray: The Natural Finish Secret
Setting spray transforms powdery, obviously made-up faces into natural, skin-like finishes. It “melts” makeup into skin, adds luminosity, and extends wear time.
Types of setting sprays:
- Dewy finish: Adds glow, ideal for dry skin
- Matte finish: Controls oil, ideal for oily skin
- Hydrating: Adds moisture while setting
- Long-wear: Locks makeup for extended wear
Application: Hold spray 8-10 inches from face. Close eyes and mouth. Spray in X pattern (one spray diagonal from forehead to opposite cheek, another diagonal from other forehead to opposite cheek), then one spray straight down center of face. This covers entire face with light mist.
Allow to air dry—don’t touch or rub. As spray dries, it sets makeup in place and creates that coveted skin-like finish.
Pro tip: Can also spray beauty sponge with setting spray, then bounce over face after powder application. This technique presses powder into skin while adding luminosity.
Final Touches: The Polish
Highlight (Optional): Natural makeup uses subtle highlighting—not metallic stripes. Apply cream or powder highlighter to:
- High points of cheekbones
- Bridge of nose
- Cupid’s bow (above upper lip)
- Inner corners of eyes
- Brow bone (just beneath arch)
Use light hand—highlight should catch light naturally, not look like glitter or obvious shimmer. Choose champagne, soft gold, or pearl shades (not intense silver or metallic).
Lip Refresh: After completing makeup, reapply lip product—often lips need touch-up after touching face during makeup application.
Overall Check: Step back from mirror viewing your full face. Check:
- Blending at hairline and jawline (no visible foundation edges)
- Symmetry (blush, contour, brows even on both sides)
- Balance (overall look cohesive, nothing too strong or too light)
- Natural light check (view makeup in daylight or by window—it can look very different than in bathroom light)
The 60-Second Face Check
Before leaving house, do quick final check:
- Brows: Hairs in place, even color and shape
- Eyes: No fallout (eyeshadow or mascara under eyes)
- Under-eyes: Concealer blended, no creasing
- Face: Foundation blended, no visible edges
- Blush: Natural placement, well-blended
- Lips: Even application, no feathering
8. Common Mistakes and How to Avoid Them
Foundation Mistakes
Mistake: Wrong shade Foundation too dark, too light, or wrong undertone (too pink, too yellow, too orange) looks obviously makeup rather than skin.
Solution: Test foundation in natural light. Apply to jawline, check match to both face and neck. Foundation should disappear into your skin—if you see where it is, it’s wrong shade. Consider getting color-matched at beauty counter, or order samples before committing to full-size products.
Mistake: Too much product Heavy, thick foundation looks cakey and masks skin—the opposite of natural makeup goals.
Solution: Start with less. Apply thin layer, assess coverage, build gradually where needed. Remember: natural makeup allows some skin texture and imperfections to show through—this is authentic and beautiful.
Mistake: Not blending into hairline and jawline Visible foundation lines at hairline or jawline scream “makeup” rather than natural beauty.
Solution: Extend foundation blending into hairline and down neck slightly. Use damp beauty sponge or fluffy brush blending edges until invisible.
Powder Mistakes
Mistake: Too much powder everywhere All-over heavy powder looks flat, emphasizes texture, and ages the face—completely opposite of natural glowing skin.
Solution: Powder only areas that need it (under-eyes, T-zone if oily). Skip powder on dry areas and anywhere you want luminosity. Use light hand—multiple thin layers better than one heavy application.
Mistake: Wrong powder for skin type Heavy powder on dry skin emphasizes dryness and fine lines. Insufficient powder on oily skin leads to rapid breakdown and shine.
Solution: Match powder to skin type. Dry skin needs minimal powder (hydrating setting spray suffices often). Oily skin needs mattifying powder strategically placed.
Eye Makeup Mistakes
**Mistake: Too much **eyeshadow Dark, intense eyeshadow or poorly blended colors look obviously made-up rather than naturally defined.
Solution: Stick to neutral shades close to skin tone. Blend thoroughly—no harsh lines. Remember: natural eye makeup creates subtle dimension, not dramatic transformation.
Mistake: Clumpy mascara Spidery, clumpy lashes look unnatural and distracting.
Solution: Apply mascara in thin layers, allowing to dry between coats. Separate lashes with clean spoolie or lash comb while mascara is wet. Replace mascara every 3 months preventing clumping.
Blush and Lip Mistakes
Mistake: Too much blush or wrong placement Overly bright cheeks or blush placed incorrectly (too low, too far back) looks costume-like.
Solution: Apply blush to apples of cheeks (where you naturally flush when smiling). Start with barely-there application—build gradually. Blend edges thoroughly.
Mistake: Lip color too dramatic Intense, bright lip colors distract from natural makeup aesthetic.
Solution: Choose “my lips but better” shades—colors that enhance your natural lip tone rather than drastically changing it. Apply with fingertip for softer, more natural finish.
Conclusion: Your Natural Beauty Enhanced
Natural makeup is not about following rigid rules or achieving perfection—it’s about enhancing the unique beauty you already possess. The techniques and products we’ve explored provide tools for strategic enhancement: evening out skin tone while maintaining skin-like texture, defining features without harsh lines, adding healthy flush and color that looks authentic and fresh, creating dimension and depth that photograph beautifully, and achieving polish and put-together appearance without obvious makeup.
The beauty of natural makeup lies in its versatility and approachability. A complete beginner can achieve beautiful results with minimal products and simple techniques, while experienced makeup enthusiasts can employ advanced methods creating sophisticated polish that still looks naturally beautiful. Natural makeup works across all ages, skin types, and personal styles—it’s truly universal approach to beauty enhancement.
As you practice these techniques, remember that makeup is deeply personal. The “natural” that feels right for you might differ from someone else’s natural—and that’s perfectly okay. Use these guidelines as framework and foundation, but always adapt to your personal preferences, features, and comfort level. If you prefer slightly more definition, add it. If you want even more minimal approach, simplify further. The goal is feeling beautiful and confident in your own skin—however you achieve that feeling is the right approach for you.
Natural makeup celebrates authenticity in an often-filtered world. It says “this is me—enhanced, polished, but fundamentally, authentically me.” That honesty and self-acceptance is the most beautiful thing anyone can wear.
Frequently Asked Questions
Q: How is natural makeup different from no-makeup makeup?
A: The terms are often used interchangeably, but there’s subtle distinction: “natural makeup” enhances your features while maintaining realistic, skin-like appearance. “No-makeup makeup” specifically aims to look like you’re wearing no makeup whatsoever—it’s the most minimal end of natural makeup spectrum. Both prioritize enhancement over transformation and skin-like finishes over obviously made-up looks.
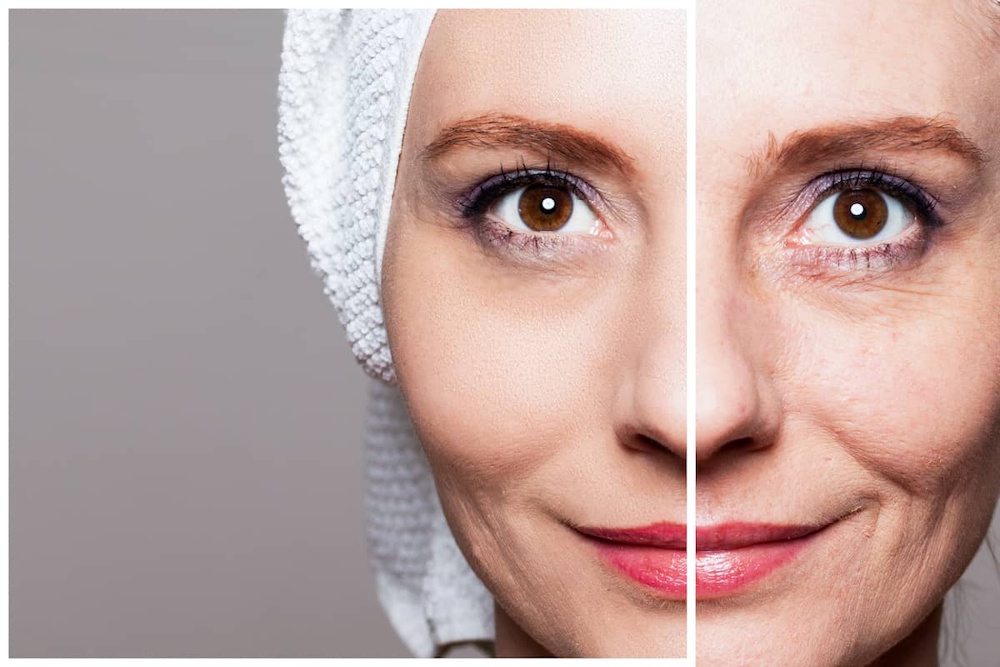
Q: Can mature skin wear natural makeup, or does it require more coverage?
A: Natural makeup is beautiful on mature skin—actually often more flattering than heavy coverage. The key is excellent skincare creating smooth, hydrated canvas, strategic concealer for discoloration and dark circles, lightweight foundation applied only where needed, and luminous finish (not matte, which emphasizes fine lines). Natural makeup on mature skin emphasizes health and vitality rather than trying to create different face.
Q: How long does natural makeup take to apply?
A: Depends on your desired polish level. Minimal natural makeup (tinted moisturizer, concealer, mascara, lip balm) takes 5 minutes. Polished natural makeup (full skincare, foundation, concealer, brows, subtle eyes, blush, lips) takes 15-20 minutes. Even polished natural makeup is typically faster than full-glam looks (30-45+ minutes) since you’re enhancing rather than transforming.
Q: What if my skin isn’t perfect—can I still do natural makeup?
A: Absolutely! Natural makeup doesn’t require perfect skin—it requires strategic coverage for imperfections while maintaining overall natural finish. Use color correctors and concealer targeting specific issues (dark circles, blemishes, redness) while keeping foundation light everywhere else. Some texture and minor imperfections showing through is normal and doesn’t diminish the natural beauty of the overall look.
Q: Is expensive makeup necessary for natural looks?
A: No. While luxury makeup can be beautiful, drugstore brands offer excellent products for natural makeup. The key is choosing right formulas (lightweight, buildable coverage; luminous finishes; suitable shades) rather than specific price points. Many professional makeup artists use drugstore products mixed with luxury items. Focus budget on products that most impact your look (foundation, concealer) and save on others.
Q: How do I make natural makeup last all day?
A: Proper skincare prep (allowing products to fully absorb before makeup), primer in areas needing extra help, setting strategically with powder (only where needed), and finishing with setting spray all extend wear time. Touch up blotting papers (for oil control) and reapplying lip color are typically only needed refreshes throughout day.
Q: Can I wear natural makeup to formal events, or do I need something more dramatic?
A: Natural makeup photographs beautifully and is absolutely appropriate for formal events—including weddings, galas, and professional events. You might choose slightly more polished version (defined brows, subtle liner, slightly more blush) but natural makeup’s timeless beauty ensures you’ll love photos decades later. Many brides specifically choose natural makeup for this reason.
Q: My natural makeup looks cakey by midday—what am I doing wrong?
A: Cakey makeup typically results from too much powder, inadequate skincare prep (dry, flaky skin), or incompatible products (silicone primer with water-based foundation). Solutions: use minimal powder only where needed, ensure skin is properly hydrated and exfoliated, match product bases (silicone with silicone, water with water), and finish with setting spray melting products together.


Tags
📧 Get More Articles Like This
Subscribe to receive product reviews and buying guides in your inbox!
We respect your privacy. Unsubscribe at any time.